Friday, August 17, 2012

Thursday, August 9, 2012

Beach Waves in a Bottle: Sea Salt Spray DIY

For those of you who missed it- I was over {here} at How Does She sharing my recipe on Sea Salt Spray.


It' what I call Beach Waves in a bottle! And you don't have to spend a lot of money on a fancy Sea Salt spray or spend a day at the beach...although, that doesn't sound too bad really- I LOVE the beach!!  I do spend time at the lake however, and have been in need of something to calm the crazy boat hair.


Here is what I used:

 8 oz. of warm distilled water
1 teaspoon of cheap coconut conditioner
1 squirt of gel or hair smoothing cream
1 squirt of gloss drops
1 tablespoon of sea salt (the fine kind)
1/4 a  teaspoon of alcohol  (not necessary- mostly used as preservative)
Other options you can include: lemon, essential oils such as tea tree or lavender, aloe vera, or coconut oil


After gathering all the ingredients, I whisked together until everything was dissolved:


Then I poured it into a a spray bottle...


...And sprayed it on damp to wet hair.  I made sure to comb it through to get rid of the snarls.


voila!


 Okay, so the tricky part is creating your perfect individual recipe for your hair type- so here are some of my recommendations with the help of Camilla of course!

Straight hair:  Try spraying it on while damp and braiding or twisting your hair and letting it dry. You could also try turning your head upside down and using your fingers to scrunch and blow dry to add a little  volume. If all else fails- use a curling iron to curl of few pieces on top. I've been told using an old T-shirt to scrunch the hair works even better...I need to try that out- I'll let you know how it goes!
 Wavy or Curly hair:  Spray over your damp to wet hair and carefully comb out any snarls. Then give it a good old fashion scrunch with your fingers or just let it do it's thing. For my hair it seems sometimes the less I touch it the better it does. I also recommend using a dash of gel or smoothing cream in your spray to control and define your waves.
 Oily hair: Make sure your hair is freshly washed and add more salt or a dash of alcohol to your mixture.  Also, avoid spraying  directly on the scalp where it tends to get oily.
Dry hair: Day old hair works great and add more moisture like a squirt of conditioner, coconut oil, or essential oils.
Remember, the key is to test it out and slowly change the recipe until it works for you hair.
Let us know how it goes!

xo

Monday, July 30, 2012

Proof's Look book and photoshoot...

 Did I ever share with you Proof's Look Book?

I didn't? Well here is is:


Camilla did a fabulous job on hair and makeup!
Erika with Asueyta used some of her personal collection to style these models. She was amazing! 


 Jessica Curry:


Jordyn Chessmore:


Ashley Knight: 


Cassie Hayes:


Thanks ladies! It was a blast!


Stay tuned for more on this photo shoot and the guy models in this shoot.

xo


Sunday, July 29, 2012

DIY on head bandanas with wire

I was over at How Does She last Friday...I was sharing how I made these lovlies.


1. Get supplies:
Fabric, sisscors, wire cutters, thread, sewing machine or sewing needle, framing or floral wire.
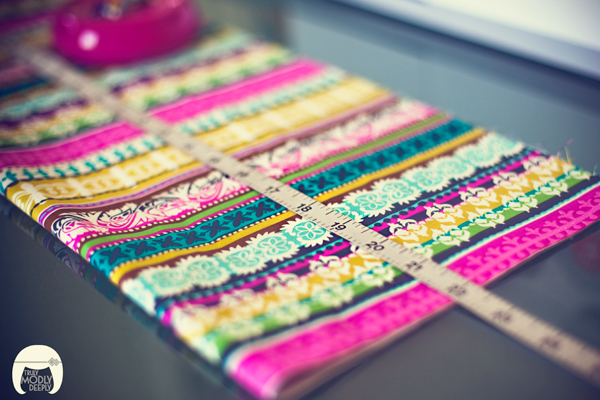
You will be cutting out two long strips so I folded it in half to make it easier to cut.

2. Measure your head and decide how long you want your piece to be and mark it on your fabric.

3. Cut it out. I wanted to experiment so, I  cut out a longer and shorter one at these dimensions:
Long:  42 inches long (21 in. folded) and 3 inches wide
Short: 32 inches long (16 in. folded) and 2 inches wide

4.Use a ruler and mark the corner where you want to angle and cut it off.


5. Cut off the corners.


6. Sew the “right sides” together. I used a 1/2 inch seam.


7. Sew all the way until you approach two inches before the end of the last corner.


8. Leave that opening to pull your fabric through it.


9. Pull the fabric through to turn it right side out.


10. Now time for the secret  in the scarf… wire! Cut out wire and round the ends. I added duct tape just as extra reinforcement so it doesn’t cut through the fabric.


11. Once you have it pulled through- hand stitch it shut and sew a few stitches around the wire loop to keep it nice secure.


Then….tie it around your head!


xo


Friday, July 20, 2012

Check out this BabbaBox giveaway!

There is an amazing Giveaway on the blog Weeds to Wishes  for a BabbaBox - It is an AMAZING and magical box full of theme-based activities to do with your kiddos! 
I just had to share it with you guys because I am hooked on these things!
Go over here to check it out and enter to win! 


Here is a quick video on what a BabbaBox is:

xo. 

Friday, June 15, 2012

The story behind this little cardigan.


This is my all time favorite cardigan. It mixes all my favorite element- lace, gold, yellow and stripes!

So inspired by this little number-  I am over at How Does She talking about bringing bright elements into your wardrobe. 

Go check it out and let me know what you think.


So where did I find this little number? Well, I was invited to go to the pre-grand opening of Nordstrom Rack in Boise (thank you How Does She) and my sister was able to come along!

This sweater was the first thing I picked up and placed in my cart and after trying on a bunch of stuff- it was one of the only things I walked away with that night.


One of my favorite parts was shopping with my little sister Bianca. 


oh yah and the cake balls... second favorite.

 They were amazing.

Don't forget to check out what other outfits I am wearing over at How Does She! 

xo